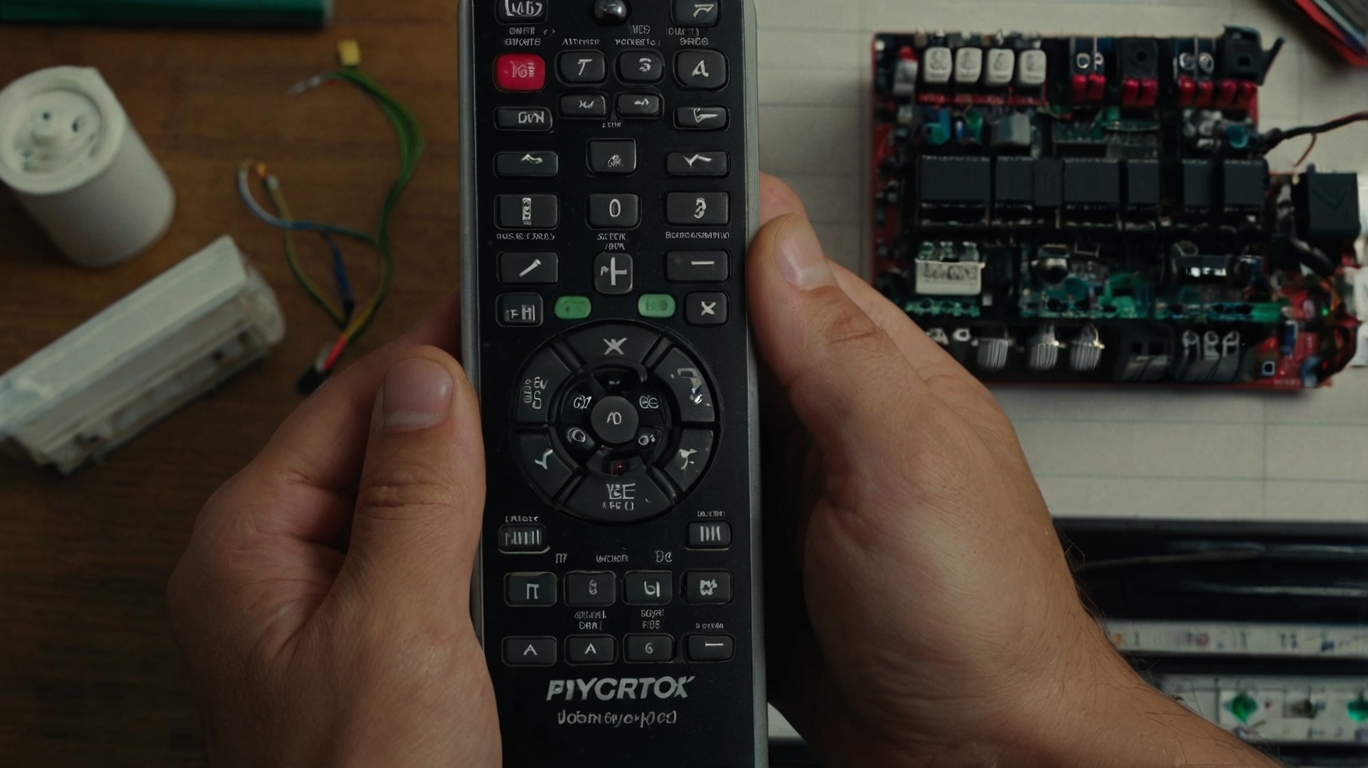
How to fix an unresponsive REMOTE CONTROL


Learn how to fix an unresponsive remote with this step-by-step guide. Simple and effective solutions for common problems. Don’t buy a new one just yet!
Remote controls are essential tools in our daily lives, whether it’s changing channels on the TV, adjusting the volume on the sound system, or controlling smart devices. However, sometimes they can stop working, which can be frustrating. In this post, you’ll learn how to fix an unresponsive remote control. By following these steps, you’ll be able to diagnose and fix common problems quickly and effectively.
1. Check the batteries
The most common problem with remote controls is that the batteries are dead or incorrectly inserted. Follow these steps to check the batteries:
1. Remove the battery compartment cover: Slide the cover down or use a small screwdriver if it is secured with a screw.
2. Check battery placement: Make sure the batteries are installed correctly, observing the indicated polarity (+ and -).
3. Replace batteries: If the batteries are exhausted, replace them with new ones. Always use good quality batteries to ensure optimal performance.
4. Test the remote: Once the batteries have been replaced, test the remote by pointing it at the device and pressing any button.
2. Clean the battery contacts
Over time, battery contacts can accumulate dust or corrosion, which can prevent a good connection. To clean the contacts, follow these steps:
1. Remove the batteries: Remove the batteries from the compartment.
2. Clean the contacts: Use a soft cloth or cotton swab moistened with isopropyl alcohol to clean the metal contacts inside the battery compartment.
3. Dry the contacts: Make sure the contacts are completely dry before re-inserting the batteries.
3. Check the infrared sensor
Most remote controls use an infrared (IR) sensor to communicate with devices. To check if the remote’s IR sensor is working, follow these steps:
1. Use a digital camera: You can use your smartphone’s camera.
2. Point the remote control towards the camera: Press any button on the remote control while pointing it towards the camera lens.
3. Observe the camera screen: If the IR sensor is working, you should see a blinking light on the camera screen.
If you don’t see the light, the IR sensor might be damaged.
4. Clean the remote control
Dust and dirt can build up inside the remote control and affect its operation. Follow these steps to clean the remote control:
1. Open the remote: Use a small screwdriver to remove the screws securing the remote housing. If there are no screws, use a plastic opening tool to separate the two halves.
2. Clean the interior: Use compressed air to remove dust and dirt from the inside of the remote. You can use a soft cloth moistened with isopropyl alcohol to clean the internal surfaces.
3. Clean the rubber pads: If your remote has rubber buttons, clean the rubber pads with a soft cloth and isopropyl alcohol.
4. Dry all parts: Make sure all parts are completely dry before reassembling the remote control.
5. Check the internal circuits

If after cleaning the remote control it still does not work, the problem could be with the internal circuitry. To check the internal circuitry, follow these steps:
1. Visually inspect the components: Check the internal components of the remote for signs of damage, such as burned or loose parts.
2. Test the connections: Use a multimeter to check the continuity of the connections in the circuit. If you find a broken connection, you may need to solder the joint to repair it.
3. Replace damaged components: If you find any damaged components, such as a capacitor or resistor, replace it with a new one of the same value and specifications.
6. Reprogram the remote control
In some cases, the remote may have lost its programming. Check the device or remote’s user manual to find reprogramming instructions. This usually involves pressing a series of buttons in a specific sequence.
7. Check compatibility
If you have tried all the steps above and the remote still does not work, make sure that it is compatible with the device you are trying to control. Some universal remotes need to be specifically configured to work with certain devices.
8. Consider purchasing a new remote control
If after all these attempts the remote still doesn’t work, it may be time to consider purchasing a new remote. Make sure the new remote is compatible with your device. Universal remotes can be a good option as they can be programmed to work with multiple devices.
Additional Tips
– Keep the user manual: Keep the remote control and device user manual in a safe place. It contains valuable information on operation and specific troubleshooting.
– Use protective cases: Use protective cases for your remote controls. This can help protect them from dust, dirt, and bumps.
– Avoid contact with liquids: Keep remote controls away from liquids to avoid damage from accidental spills.
– Button replacement: If the buttons on your remote are worn or damaged, consider replacing them. Some manufacturers sell button repair kits.
Conclusion
Fixing an unresponsive remote can be simple if you follow these steps. From checking and replacing batteries to cleaning the contacts and inside of the device, there are several possible solutions to this common problem. In many cases, a little maintenance and cleaning can restore functionality to your remote, saving you the need to buy a new one. If all else fails, remember that compatibility and proper programming are essential for proper remote operation. With these tips, you can keep your remotes in good working order and continue enjoying the convenience they provide in your home.


