How to Fix a Microwave That Won’t Heat


How to Fix a Microwave That Won’t Heat. Step-by-step guide to identify and fix common problems safely and effectively.
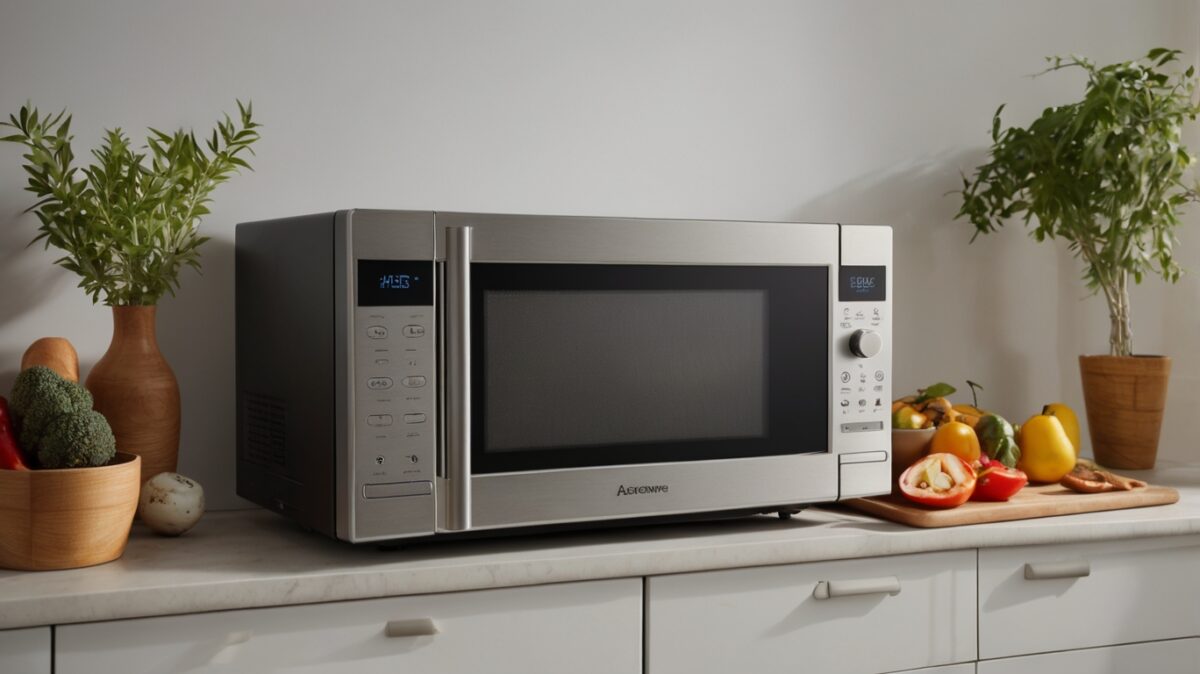
Microwaves are essential appliances in many homes, as they make it easy to quickly prepare food. However, one of the most common problems that can arise is that the microwave stops heating up. If your microwave has stopped working properly, don’t worry, in this article I will explain step by step how to identify and solve this problem.
1. Safety First
Before beginning any repair, it is crucial to ensure that the microwave is unplugged and completely disconnected from the power source. Microwaves can store electricity even when they are turned off, so it is vital to take precautions to avoid electrical shock. If you are not comfortable performing electrical repairs, consider calling a professional.
2. Check Basic Operation
Before you open your microwave, make sure the problem isn’t something simple. Here are some basic things to check:
– Plug and socket: Make sure the microwave is properly plugged in and that the socket is working. You can try plugging another appliance into the same socket.
– Microwave door: Check that the door closes properly. If the door is not closed properly, the microwave will not operate for safety reasons.
– Timer and power level settings: Make sure you have set the timer and selected the correct power level. Sometimes the solution is as simple as this.
3. Check the fuse
One of the most common reasons why a microwave won’t heat is a blown fuse. Fuses are designed to protect the microwave from power surges and can blow if there is an electrical problem.
Steps to check the fuse:
1. Unplug the microwave: Make sure the microwave is unplugged before opening it.
2. Access the control panel: Depending on your microwave model, you may need to remove the control panel or a cover on the back of the microwave to access the fuses.
3. Find the fuse: Find the fuse, which is usually a small glass or ceramic cylinder. Use a multimeter to check if the fuse is blown. If you don’t have a multimeter, you can sometimes tell if it’s blown by simply looking at the filament inside the fuse.
4. Replace the fuse: If the fuse is blown, replace it with a new one of the same type and capacity. Make sure to purchase a fuse compatible with your microwave’s specifications.
4. Check the door switch

The microwave has door switches that prevent it from operating when the door is open. If these switches are faulty, the microwave will not heat.
Steps to check the door switch:
1. Unplug the microwave: Again, make sure the microwave is unplugged before you begin.
2. Access the door switches: You will need to remove the outer panel of the microwave to access the door switches.
3. Test the switches: Use a multimeter to test the door switches for continuity. If a switch does not have continuity, it will need to be replaced.
4. Replace defective switches: If you find a defective switch, replace it with a new one compatible with your microwave model.
5. Check the High Voltage Diode
The high voltage diode converts the power from the transformer into energy that can heat the food. If the diode is defective, the microwave will not heat.
Steps to check the high voltage diode:
1. Unplug the microwave: Always unplug the microwave before working inside it.
2. Access the diode: The diode is usually located near the magnetron and capacitor.
3. Test the diode: Use a multimeter to test the diode. It should show low resistance in one direction and high resistance in the other. If not, the diode is defective.
4. Replace the diode: If the diode is defective, replace it with a new one compatible with your microwave.
6. Check the Magnetron
The magnetron is the component that generates the microwaves that heat the food. If the magnetron is defective, the microwave will not heat.
Steps to check the magnetron:
1. Unplug the microwave: Make sure the microwave is unplugged.
2. Access the magnetron: You will need to remove the access panel to get to the magnetron.
3. Visually inspect the magnetron: Look for signs of visible damage, such as burns or dents.
4. Test the magnetron with a multimeter: Check for continuity between the magnetron terminals. If there is no continuity, the magnetron is defective and needs to be replaced.
5. Replace the magnetron: If the magnetron is defective, replace it with a new one that is compatible with your microwave.
7. Check the High Voltage Capacitor
The high voltage capacitor stores electricity and works together with the diode and magnetron. If the capacitor is faulty, the microwave will not work properly.
Steps to check the high voltage capacitor:
1. Unplug the microwave and discharge the capacitor: Unplug the microwave and use an insulated-handled screwdriver to discharge the capacitor by touching both terminals at the same time.
2. Access the capacitor: Remove the access panel to access the capacitor.
3. Test the capacitor: Use a multimeter to measure the capacitance of the capacitor. If it does not display the correct capacitance, it is defective.
4. Replace the capacitor: If the capacitor is defective, replace it with a new one compatible with your microwave.
8. Check the Thermostat and Thermistor
The thermostat and thermistor control the temperature inside the microwave. If they are faulty, the microwave will not operate properly.
Steps to check the thermostat and thermistor:
1. Unplug the microwave: Make sure the microwave is unplugged.
2. Access the thermostat and thermistor: Locate these components inside the microwave.
3. Test with a multimeter: Use a multimeter to check the continuity of both components. If they do not have continuity, they are defective.
4. Replace defective components: If any of the components are defective, replace it with a new one that is compatible with your microwave.
Conclusion
Fixing a microwave that won’t heat can seem like a complicated task, but by following these steps you can effectively identify and fix the problem. Always remember to work safely and unplug the microwave before attempting any repairs. If at any point you feel unsure or unsure of how to proceed, don’t hesitate to contact a professional.
By following these tips, you can extend the life of your microwave and avoid unnecessary costs for repairs or the purchase of a new appliance. Good luck with your repair!
Post views: 2


